Dr. Chen-Hanson Ting, the name often associated with eForth and one of the inspiring figures of Forth community, wrote: >*In all these years, I have thought that the eForth Model is a good model useful for all different processors and microcontrollers, and for all different applications. It is a very simple model for anybody who like to learn Forth and to use it for their own applications.*
In 2011, Dr. Ting created *328eForth* to run Forth on Arduino UNO and wrote in his ceForth_33 document:
I was attracted to Arduino Uno Kit and ported eForth to it as 328eForth...writing to flash memory, I had to take over the bootload section which was monopolized by Arduino IDE...I extended Forth dictionary in the RAM memory. It worked. ...., it was only a teaser to entice new people to try Forth on Arduino Uno.
Personnally, I enjoyed the beauty of working on something small and simple, so decided to pick up Dr. Ting's eForth Model to push it beyond being a teaser. Here we go...
What is eForth1?
- An eForth for Arduino UNO/Nano implemented in C.
- .ino sketch file can be openned in Arduino IDE, no programmer to overwrite bootloader needed.
- Has 16-bit cells and stacks.
- Can read/write Arduino GPIO pins.
- Supports Arduino Timer and Pin Change Interrupts.
- Has C API to interface with user defined functions written in .ino.
- Can save/restore app to/from EEPROM.
- Can be embeded with other Arduino applications.
- Can become a turnkey system booting from saved EEPROM or enscripted Forth code.
How to install eForth1?
- From Arduino IDE's Library Manager
Make sure you've hooked up one of Arduino Nano/Uno, or a development board that hosts ATmega328
> from Arduino IDE > Tools > Manage Libraries, enter FORTH in search box
> find eForth1 in the short list, select the latest version, and click the Install button
> from Files > Examples, find eForth1 in Examples from Custom Libraries at very buttom section
> load one of the eForth1 examples, such as 0_hello
> open Serial Monitor, set baud rate to 115200, and line ending to Both NL & CR
> hit compile and upload. You should see the 'ok' prompt
- Or, from GitHub directly, if you prefer managing source codes manually
> git clone *https://github.com/chochain/eForth1* onto your local Sketch directory
> copy examples/0_hello/0_hello.ino from sub-directory, then rename it as eforth1.ino
> open eforth1.ino with Arduino IDE, and setup your Nano/Uno (or ATmega328) development board
> in eforth1.ino, change the #include <eforth1.h> to #include "./src/eforth1.h"
> open Serial Monitor, set baud rate to 115200, and line ending to Both NL & CR
> compile and upload, you should see the 'ok' prompt
Hopefully, thing goes well and you get something like the snip below if eForth1 is uploaded successfully.
- >

Now type WORDS in the input bar and hit <return> to list all the words supprted by eForth1. It is ready to serve your future fun projects.
- >

Different from Dr. Ting's
- Instead of the original 32-bit, CELL is 16-bit, and prmitives are 8-bit opcodes.
- To save space, primitives are compiled as bytecode and composite words are flagged address pointers.
- For speed, use direct threading model instead of original subroutine threaded,
- Instead of raw GPIO port read/write, eForth1 calls Arduino library functions i.g. PINMODE = pinMode, IN = digitalRead, OUT = digitalWrite, ...
- Support multi-tasking. Timer2 sliced at 1ms as the heart-beat with 8 ISR handler slots provided which Forth words can be assigned to. Timer1 is left free for Servo or other libraries.
- Support Delay (sleep). It does not pause the MCU nor does it interfer with interrupts. 16-bit delay max 32767ms, longer delay can be have by defining word that loops.
- Support Pin Change Interrupts. ISR handler slots are provided for each of Port B,C, and D.
- Support 32-bit clock (in ms). It takes 2 cells off 16-bit stack. Arithmetics for double are also provided. DNEGATE, D+, or D- plus the conversion words D>S, S>D.
Demos
- LED blinker (assume you have a blue LED on pin 6, or try *this Wokwi project*)
> 1 6 PINMODE⏎ \ set pin 6 for OUTPUT, i.e. pinMode(6, OUTPUT=1) > : blue 6 IN 1 XOR 6 OUT ;⏎ \ create a word to toggle the blue LED > : blink FOR blue 500 DELAY NEXT ;⏎ \ create a word to blink (i.e. 500ms delay) > 9 blink⏎ \ run 10 cycles (i.e. 9,8,7,...,2,1,0 to on/off 5 times) - Timer Interrupt Service Routine (a red LED on pin 5)
    > 1 5 PINMODE⏎                           \ set pin 5 for OUTPUT
    > : red 5 IN 1 XOR 5 OUT ;⏎              \ create an interrupt service routine (just a regular word)
    > ' red 200 0 TMISR⏎                     \ make the ISR ticked every 0.2 seconds (= 200ms)
    > 1 TIMER⏎                               \ enable timer, now you should see red LED blinking continuously
    > 19 blink⏎                              \ let's have them both blink (blue LED 10 times)
| Blinker | Interrupt Service |
|---|---|
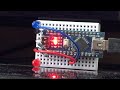 | 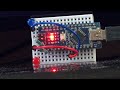 |
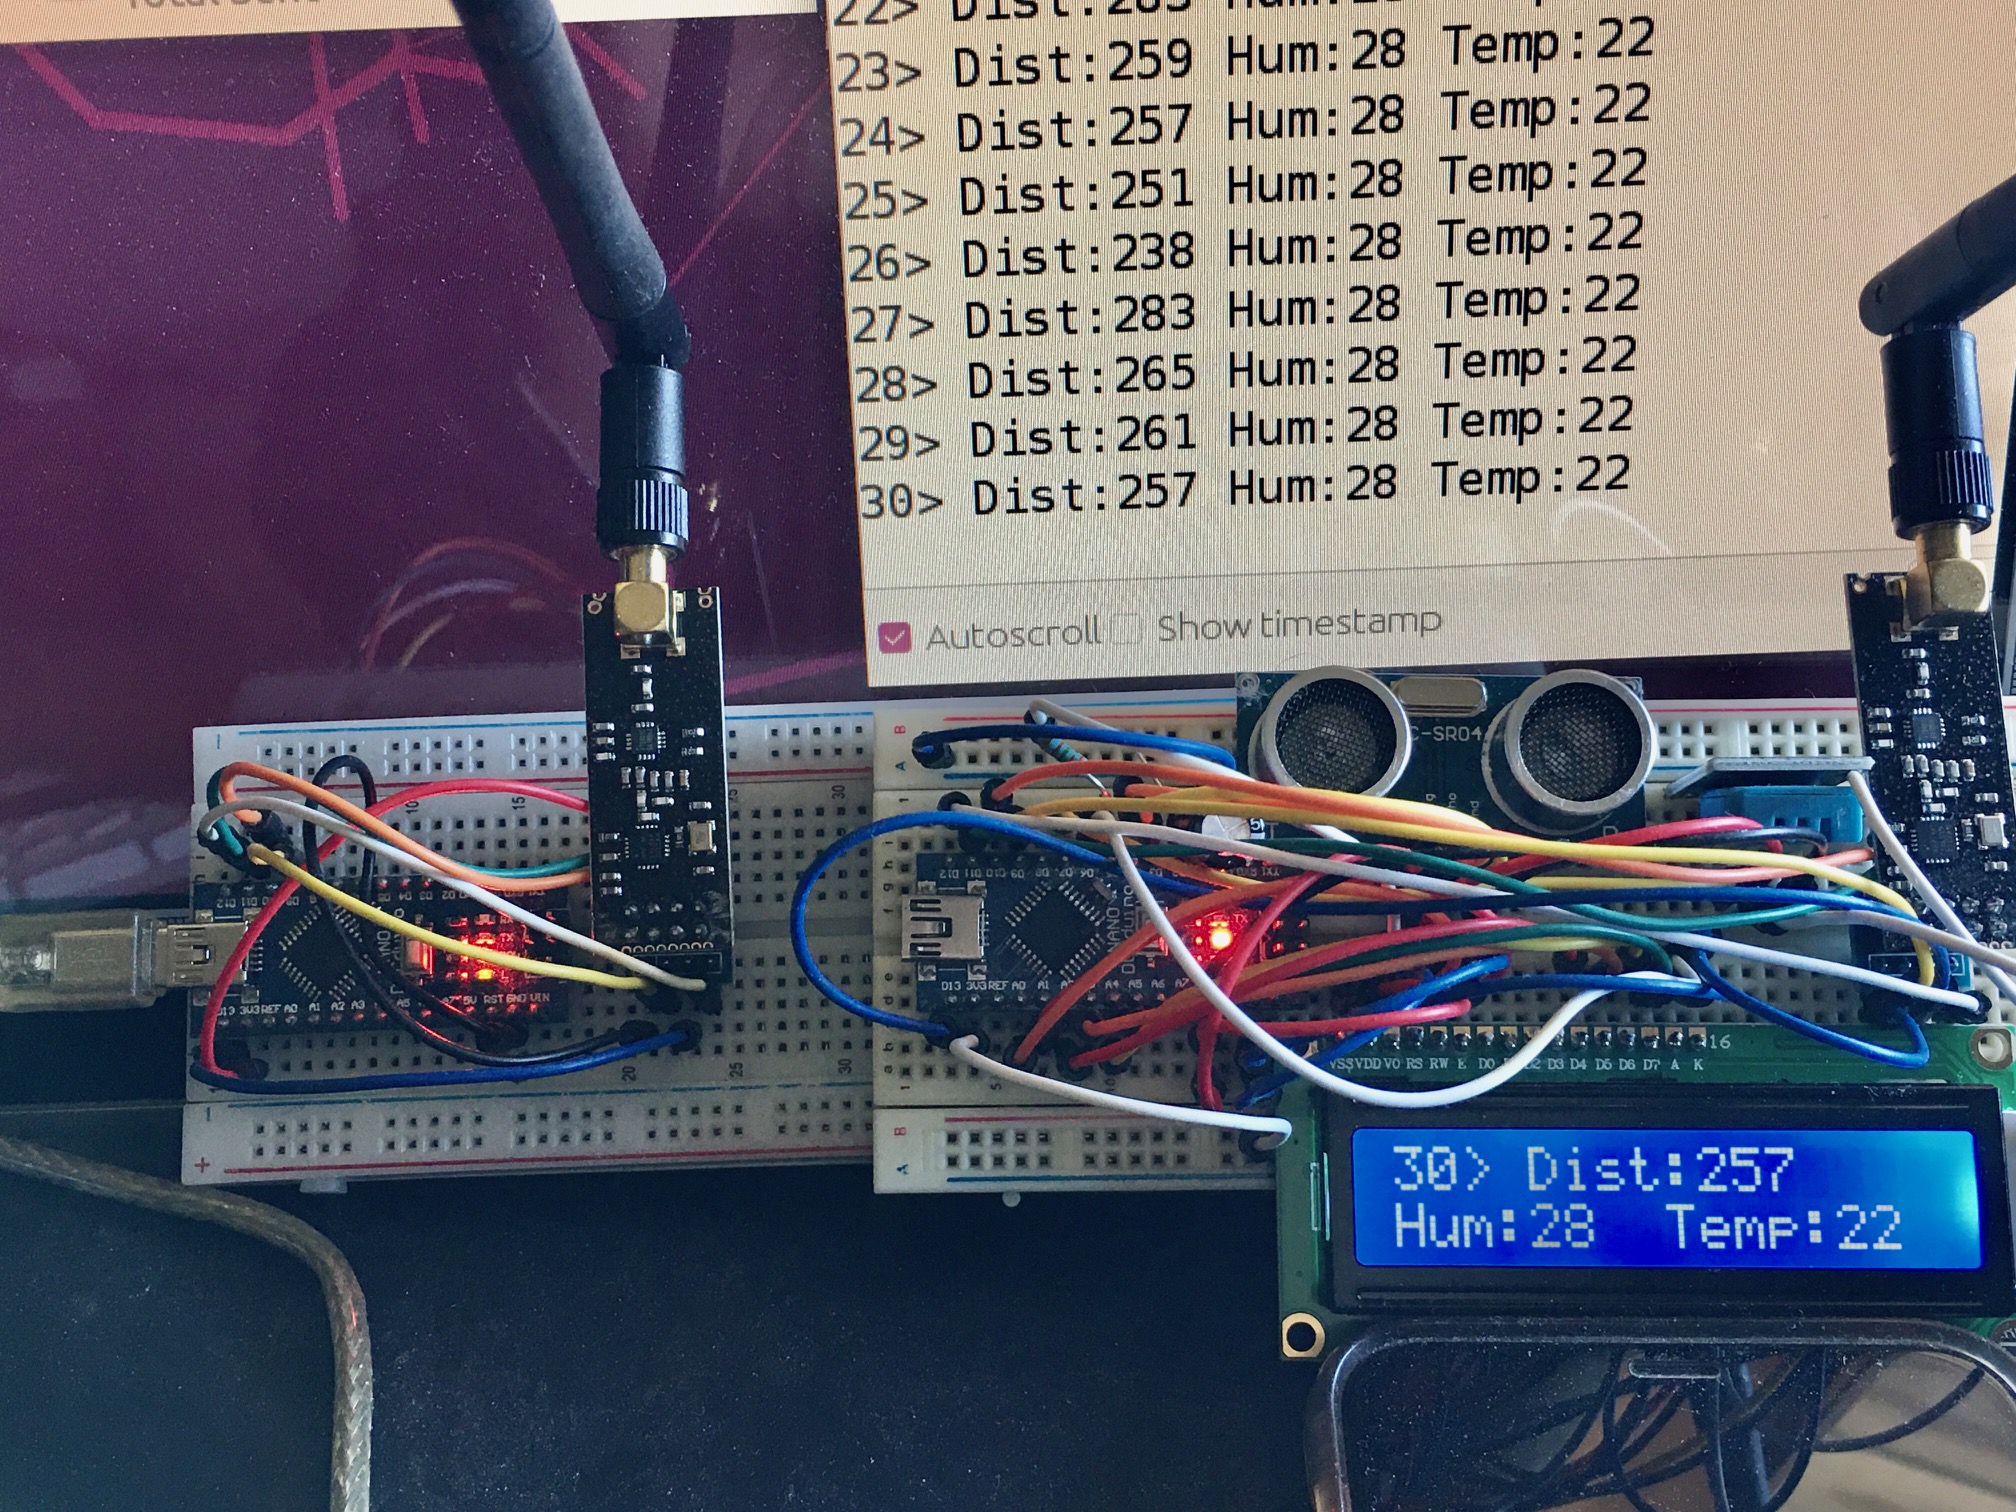
- Drives 8 Servos. Demo at *this Wokwi project*
- Controls 4-legged Robot (8 servos) with ultrasound and IR remote. Demo code in ~/examples/8_kame
| Ultrasound Ranging | Walking |
|---|---|
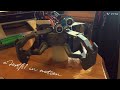 | 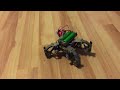 |
- Bluetooth (HC-05) communication. Demo code in ~/examples/9_bluetooth
- WiFi (nRF24L01s) communication. Demo code in ~/examples/11_rf
Benchmark
- Classic 1 million cycles
    > : inner 999 FOR 34 DROP NEXT ;⏎          \ inner loop (put 34 on stack then drop it)
    > : outer 999 FOR inner NEXT ;⏎            \ create the outer loop
    > : bench CLOCK DNEGATE outer CLOCK D+ ;⏎  \ CLOCK returns a double value
    > bench⏎                                   \ benchmark the 1000x1000 cycles
    > 25492 0 ok>                              \ 25492ms =~ 25.5us/cycle (with one blinking ISR running in the background)
#
eForth1 Virtual Machine, User Variables, Dictionary and Standard FORTH words
See details in ~/docs/README here
eForth1 Arduino specific words
Digital and Analog IO
Instead of accessing memory mapped address (i.e. 0x20-0x3F), eForth1 uses the Arduino C functions to access GPIO pins. Not the preference by bare metal people but fast enough mostly and easier for new comers.
| Word | Usage | Function |
|---|---|---|
| PINMODE | ( f p – ) | pinMode(f, p) |
| IN | ( p – 1|0 ) | digitalRead(p) |
| OUT | ( 1|0 p – ) | digitalWrite(p, 1|0) |
| AIN | ( p – n ) | n = analogRead(p), n:0~1023 |
| PWM | ( n p – ) | analogWrite(p, n), n:0~255, duty cycle* |
| MAP | ( l0 h0 l1 h1 x – y ) | y = map(x, l0, h0, l1, h1) |
| CLOCK | ( – ul uh ) | fetch millis(), in double precision |
| DELAY | ( n – ) | delay n milliseconds |
*Note: Since Timer0 (pin 5, 6) is used for clock and Timer2 (pin 3, 11) is used for timer interrupt, eForth1 can only safely use Pin 9 and 10 for PWM (unless you don't need CLOCK or DELAY). Other pins behave like digital pins. Anything above and equals to 128 is treated as HIGH, below as LOW. On the other hand, AIN does not use any timer. It can be safely used with all Analog Pins.
Timer and Pin Change Interrupts
eForth1 uses a data structure to capture interrupts. It supports 11 ISRs (interrupt service routines). 8 for Timer and 3 for Pin Change. Arduino UNO/Nano timer2 is used, ticking at 1 millisecond as the base freq for timer interrupt. Timer0 is used for delay and Timer1 are left for other Arduino libraries such as servo driving. Pin Changes are flagged by port-D (pin D0-D7), Port-B (pin D8-D13), and Port-C (pin A0-A5). Only one xt (function address) per port so your ISR needs to figure out which pin actually been triggered if they use the same port.
| Word | Usage | Function |
|---|---|---|
| TMISR | ( xt t n – ) | make xt Timer ISR[n], ticks every t ms |
| TIMER | ( 1|0 – ) | 1: enable, 0: disable Timer2 Interrupt |
| PCISR | ( xt p – ) | make xt when p Pin Changes |
| PCINT | ( n – ) | 1: enable, 0: disable Pin Change Interrupt |
*Example: Ultrasound Ranging
EEPROM Store/Restore
Arduino UNO/Nano has 1K of EEPROM which can cover eForth1 user variables, the newly defined words, and possible data stored within the 1K RAM. Your work can be saved onto EEPROM and can be restored even after a reboot.
| Word | Usage | Function |
|---|---|---|
| SAVE | ( – ) | save RAM:0x2000 ~ last_word into EEPROM |
| LOAD | ( – ) | restore EEPROM into RAM:0x2000 ~ last_word |
C API call
eForth1 provides a C interface for accessing the vast amount of libraries comes with Arduino ecosystem. It currently support upto 8 C functions but can be changed by updating CFUNC_MAX in eforth_config.h before compilation.
| Word | Usage | Function |
|---|---|---|
| CALL | ( n – ) | call C API[n], defined by vm_cfunc(n, xt) |
*Example: LED flipping
To Learn More About Forth?
If your programming language exposure has been with C, Java, or even Python so far, FORTH is quite different. Quote Nick: "It's no functional or object oriented, it doesn't have type-checking, and it basically has zero syntax". No syntax? So, anyway, before you dive right into the deep-end, here's a good online materials.
- Interactive tutorial for FORTH primer. It teaches you how FORTH fundamentally works such as the numbers, the stack, and the dictionary.
*Easy Forth Tutorial by Nick Morgan* with a *Writeup* by Juergen Pintaske.
To understand the philosophy of FORTH, excellent online e-books are here free for you.
- Timeless classic for the history, paths, and thoughts behind FORTH language.
*Starting Forth by Leo Brodie*
*Thinking Forth by Leo Brodie*
Build your own Forth
Traditionally, the Forth image is build from low-level assembly and high-level Forth via a process called meta-compilation. See details here. Latest eForth, from Dr. Ting, changed the process to build the entire image with C only. I follow the same philosophy.
> git clone *https://github.com/chochain/eForth1* onto your local directory
> make rom # to create src/eforth_rom.c
study how src/eforth_asm.h, and src/eforth_asm.c create Forth image
study how vm_outer() in src/eforth_vm.cpp interacts with the ROM image
modify src/eforth_asm.c to build your version of eForth
> make # to generate tests/eforth1 for debugging, or
use Arduino IDE to compile and upload
Performance Tuning (~15% faster)
- Check your Arduino IDE installed directory, say C:\Users\myname\AppData\Local\Arduino... on Windows or /home/myname/Arduino/... on Linux,
- Find the directory hardware -> arduino -> avr,
- With an editor, open the 'platform.txt' file,
- Find all three -Os compiler options (i.g. compiler.c.flags=-c -g -Os ...)
change them to -O3 for speed, -Os (default) for smallest size, -O2 for somewhere in-between
References to Dr. Ting's Original
- eForth and Zen
- The Arduino controlled by eForth
- 328eForth mod for coinForth by D. Ruffer
- ceForth_33.doc - original documentation
- ceForth_33.cpp - source code in C
- eforth_328.ino - Arduino IDE teaser by Dr. Ting
For Projects small and large
- A tiny 8-bit sytem at eForth for STM8 or STM8 Programming
- A system with WiFi, and fancy stuffs at Esp32forth or its GitHub site